Installing blackout roller shades is an easy and effective way to block light, increase privacy, and improve energy efficiency in any room. This guide will walk you through how to install blackout roller shades step-by-step using simple tools, so you can achieve a clean, professional-looking finish without needing to hire a contractor.
Why Homeowners Love Blackout Window Treatments

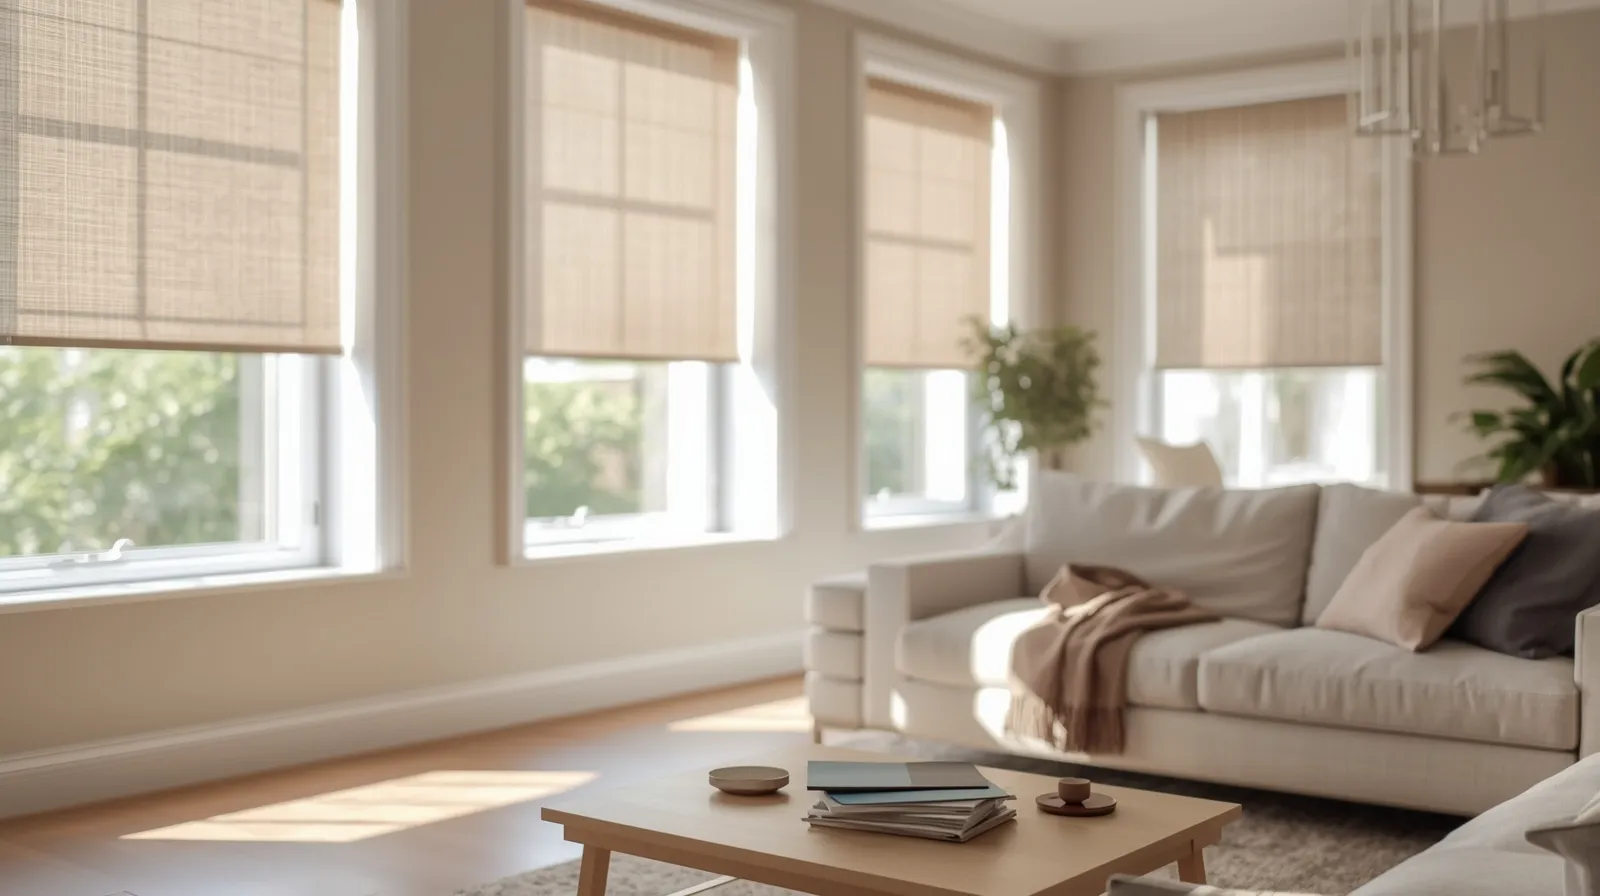
Blackout window treatments are a favorite in many homes. They block light, add privacy, and help you sleep better. They also keep rooms cooler by blocking sunlight, saving energy during hot days. If you’re looking for a smart way to upgrade your windows, installing blackout roller shades is a great place to start. Many homeowners ask how to install blackout roller shades without hiring a pro. The good news is it’s easier than you might think, and with the right tools, you can do it yourself.
How to Install Blackout Roller Shades: A Quick Overview
Installing blackout roller shades is a simple project that doesn’t take much time. The basic idea is to attach brackets to your window frame, snap the shade into place, and make sure everything is level. Whether you’re updating one room or all your windows, the process stays the same. You’ll just need a few tools, a little patience, and a good understanding of your window’s size and shape.
What You’ll Need Before Installation Begins
Before starting, gather everything you need:
- Blackout roller shades
- A screwdriver or drill
- A pencil
- A tape measure
- Level
- Step stool or ladder
- Blackout blind brackets (usually come with the shades)
Make sure you read the instructions that came with your blinds. Some blackout roller blinds installation kits are slightly different. Always check what’s included before you begin.
Measuring Your Windows for the Perfect Fit

To get a clean look, you need accurate measurements. Start by deciding if you want an inside mount (blinds fit inside the window frame) or outsidemount (blinds cover the frame). Measure the width and height of the area you want to cover. Write down your numbers carefully.
If you’re using blackout shades stick to window designs or temporary shades, follow the instructions on where to
place them. For standard shades, use a level to make sure everything lines up straight. A crooked install can lead to sagging or uneven rolling.
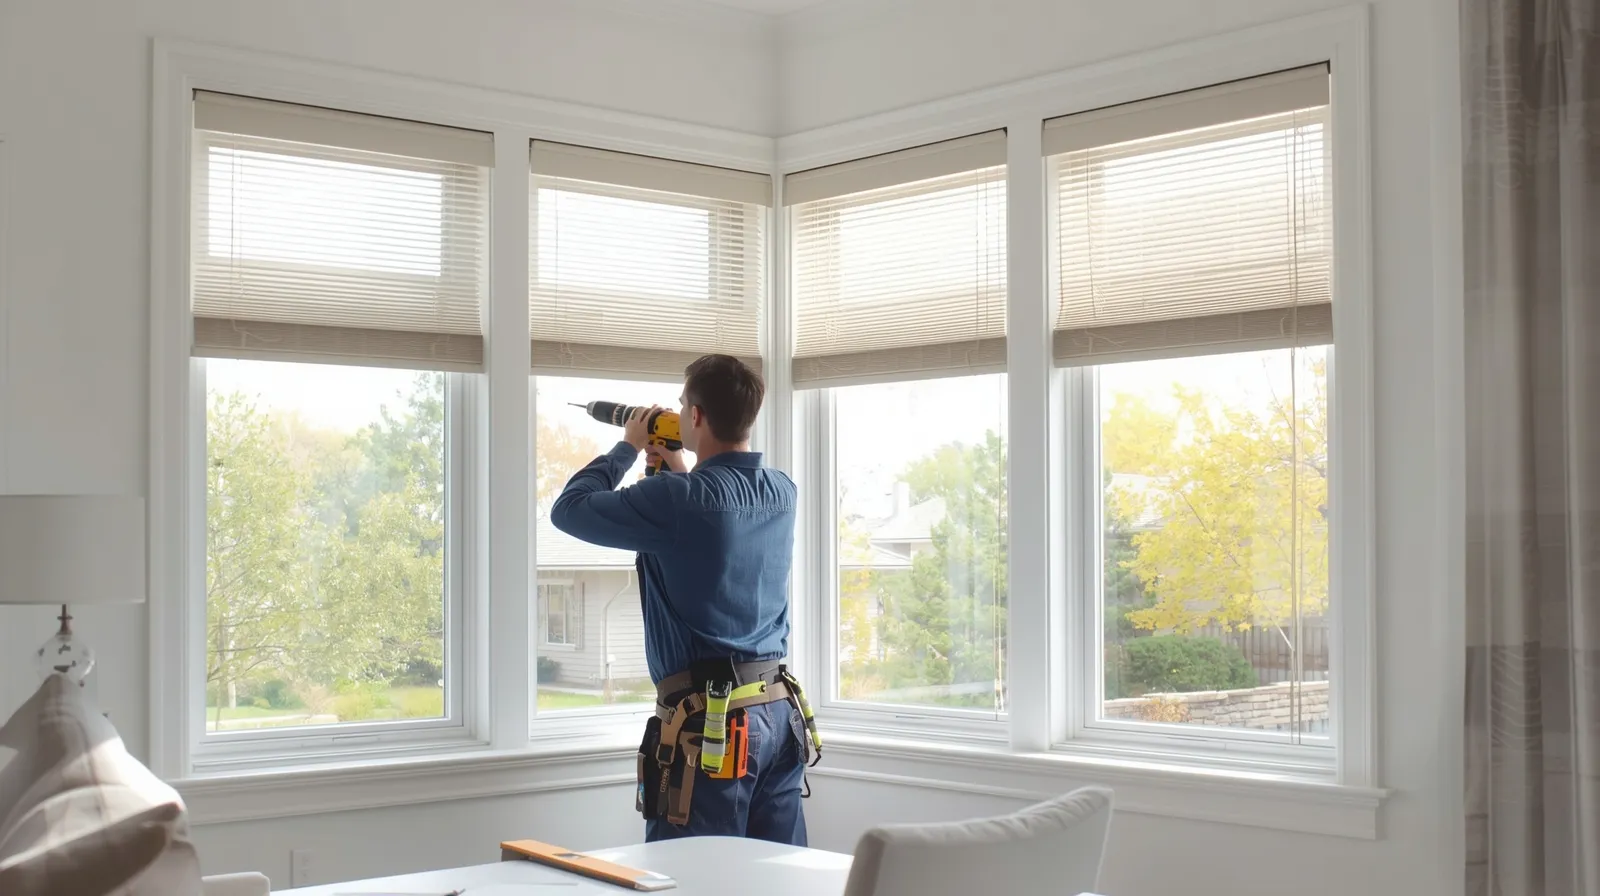
Marking and Installing the Blackout Blind Brackets
Hold one of the blackout blind brackets in place where you want it to go. Use a pencil to mark the holes. Do the same for the other side. Double-check that both sides are even using a level. Once your marks are set, drill pilot holes if needed, then screw the brackets in.
For wider windows, you might need a center bracket too. This helps support the roller and keeps it from bowing in the middle. Learning how to install blackout blinds with the right bracket spacing ensures long-lasting results.
Mounting the Roller Shade: Step-by-Step Instructions
With the brackets in place, it’s time to mount the shade. Most blackout roller blinds have a simple clip-in or slide-in mechanism. Follow the product guide closely:
- Start with the end that connects to the spring mechanism or control chain.
- Slide or snap it into the bracket.
- Do the same on the opposite side.
- Test the shade to make sure it rolls up and down smoothly.
If it sticks or doesn’t sit evenly, remove it and adjust your bracket alignment. DIY blackout blindinstallation is all about small adjustments for the best fit.
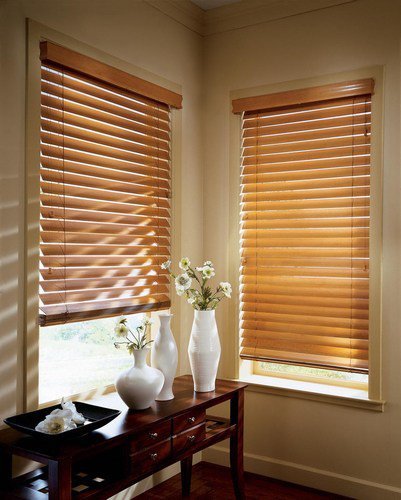
Side Closing and Specialty Blackout Blinds: What’s Different?

Side closing blackout blinds or shades with extra panels need a slightly different setup. These blinds may include side tracks to block extra light. For these, you’ll attach tracks along the window frame.
When working with blackout shades windows that tilt open or have decorative molding, you might need spacers or custom brackets. If you’re installing black blinds from outside the window frame, make sure they’re wide enough to fully block light and hang straight.
How to Install Blackout Blinds on Tilted or Hard-to-Reach Windows
Installing blackout blinds on tall or slanted windows? No problem just follow these tips:
- Use a sturdy step ladder
- Work with a partner to help hold the shade
- Take extra care to level the brackets
- Pre-drill holes to avoid cracking the frame
Windows that tilt or open inward may need special brackets. For safety and accuracy, check if the shade model fits non-standard windows. If not, consider custom options through Accent Window Coverings, which offers solutions for tricky installations.
Blackout Blind Installation Tips for a Clean, Smooth Look
Here are some pro tips to make your blackout blind installation look like it was done by an expert:
- Clean the window area before starting
- Check the shade length before snapping it in place
- If you’re using cordless roller shades, make sure the spring mechanism is pre-loaded
- Use a soft cloth to wipe down the shade once installed
These small touches help your shades look neat and polished, while also improving performance.
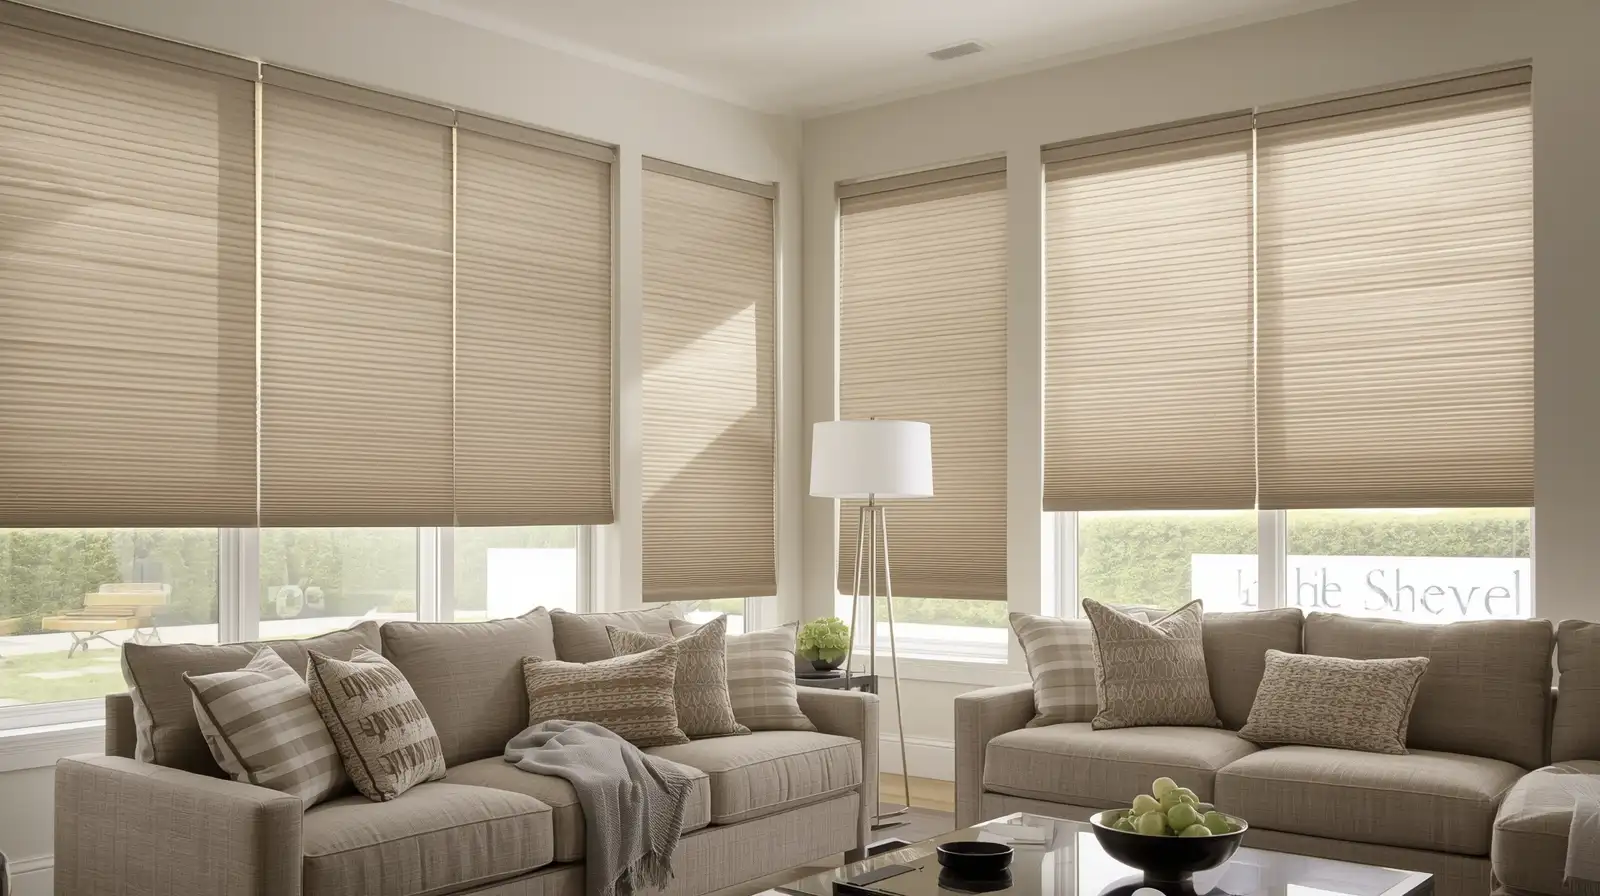
Installation Challenges in Riverside, CA: What to Know Locally

In Riverside, CA, homes often have large sun-facing windows that let in lots of light. That’s great for brightness, but not so great when you need to sleep or cool down. This is where blackout shades installation makes a huge difference. Be aware that homes with stucco exteriors or old frames might need different
screws or wall anchors to support your brackets. Always check the surface type before drilling.
Humidity and dust can also affect stick-on options. If you’re using blackout blinds stick towindow film or adhesive tracks, clean the window frame thoroughly and press down firmly when applying.
Why Accent Window Coverings Is Your Local Blackout Shade Expert
At Accent Window Coverings, we’ve helped hundreds of homeowners find the perfect window solution whether they’re looking for blackout roller shades, side-closing blinds, or stick-on styles. Our team has the tools, training, and experience to make installation easy and stress-free. If DIY isn’t your thing, or you run into issues, we’re just a call away. We’ll help you measure, install, and enjoy your new shades with confidence.
Whether you’re updating one room or tackling your whole house, blackout shades make a big difference in comfort and style. They’re energy-efficient, easy to use, and look great with any décor.
Want help with your blackout shade project? Reach out to Accent Window Coverings today for expert advice and professional installation you can trust.
Want to Learn more about Energy Efficient Windows .
Conclusion
Installing blackout roller shades may seem tricky at first, but with the right tools and clear steps, it’s a job you can do on your own. From measuring your windows to placing the brackets and snapping the shade into place, each part of the process helps you get a perfect fit. These shades aren’t just about blocking light they also add comfort, privacy, and energy savings to your home. And if things ever get confusing or you want a pro to handle it, Accent WindowCoverings is here to help with expert service and trusted support.
If you’d like to get in touch about our services, feel free to contact Accent Window Coverings today we’re here to help!