How to Install Window Roller Shades Easily
How To Install Window Roller Shades: Step-By-Step Guide For a Perfect Fit
Installing window roller shades is one of the simplest ways to update your home’s look and comfort. Whether you want better privacy, modern style, or improved light control, roller shades are a sleek and practical choice.
If you’ve ever wondered how to install window roller shades on your own, this guide walks you through the entire process from preparation and tools to proper mounting and adjustment. You’ll learn the difference between inside and outside mounts, when to try a DIY installation, and when to call a professional like Accent Window Coverings for expert help in Riverside, CA.
Why Window Roller Shades Are a Smart Choice for Any Home
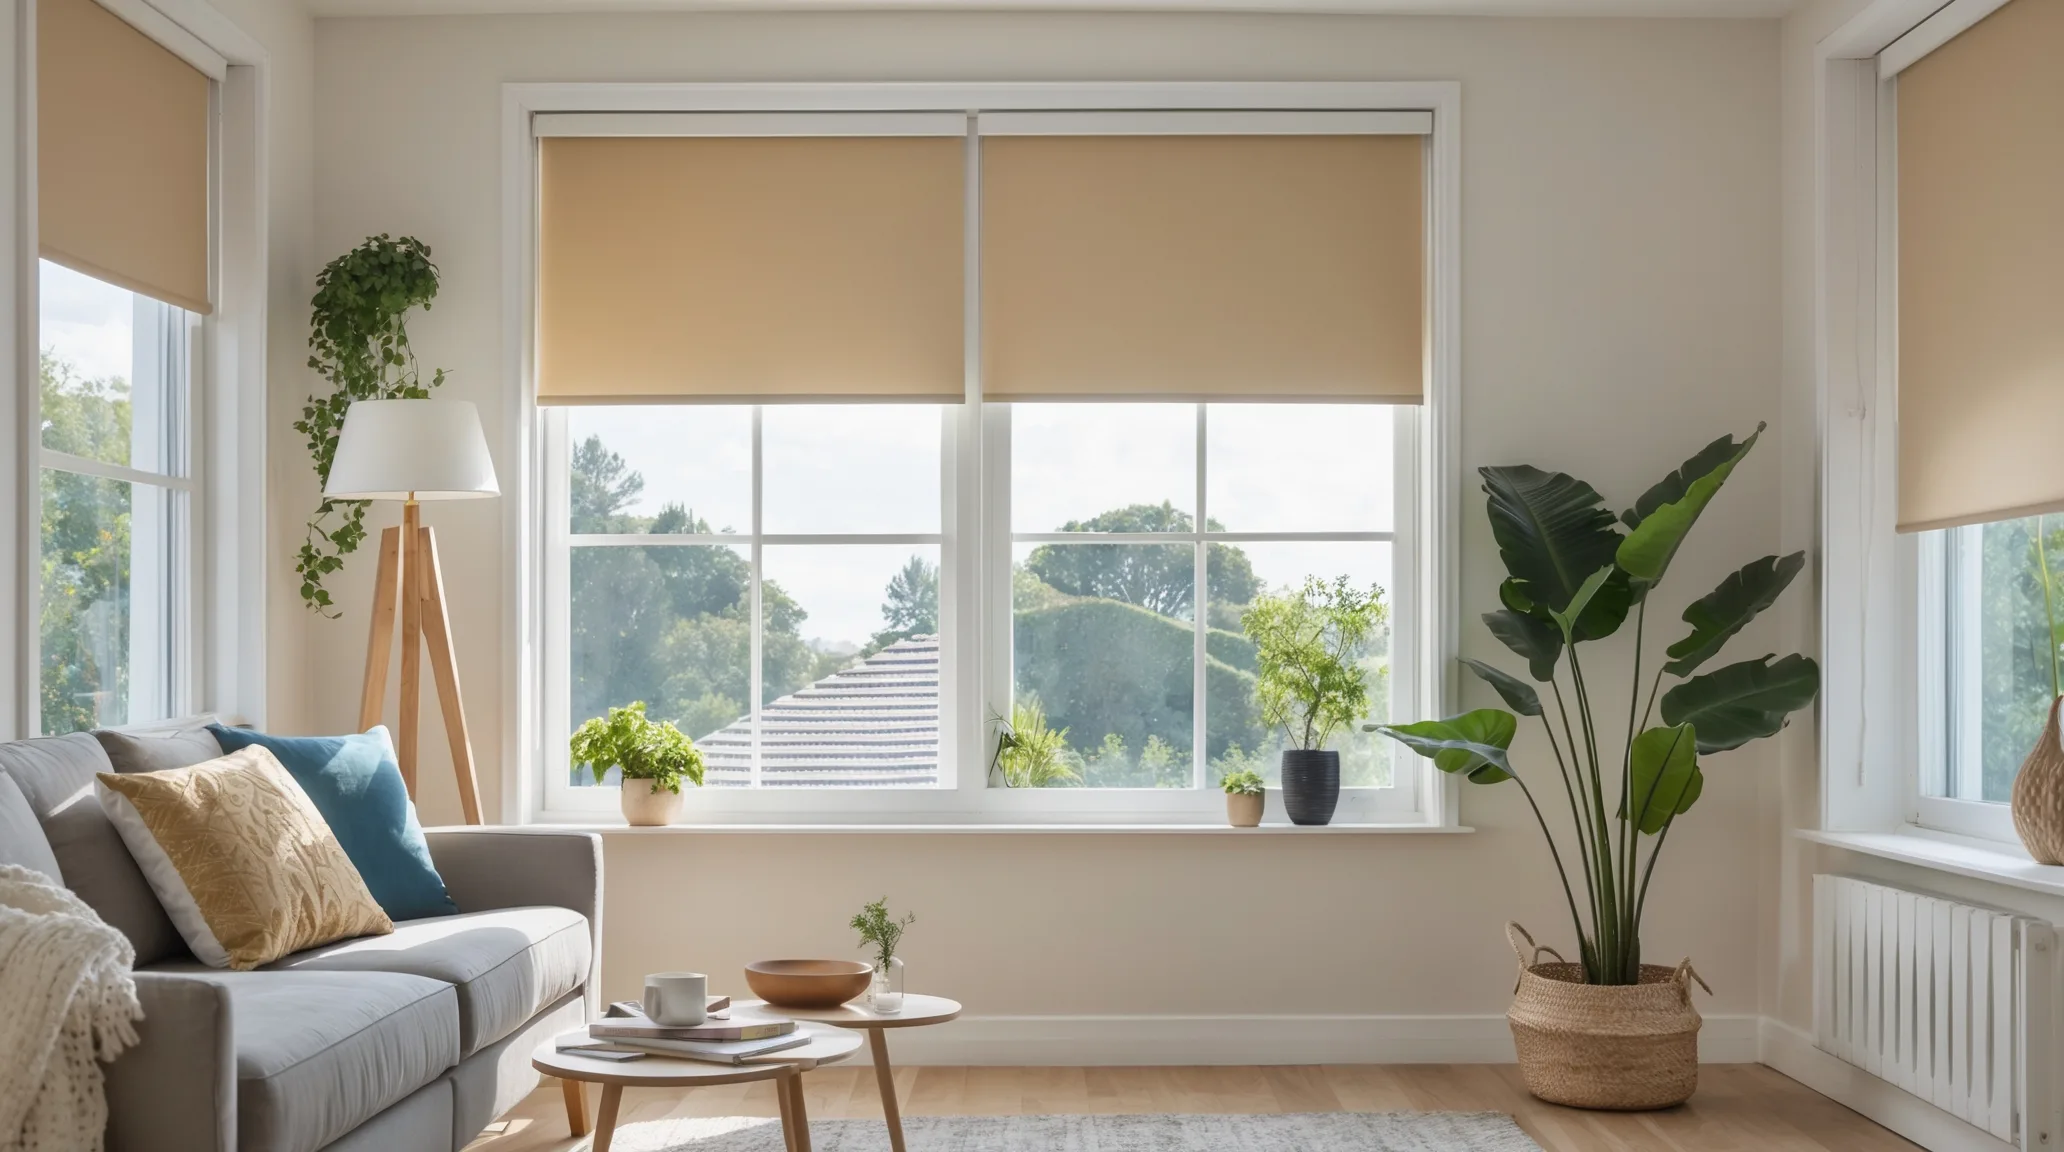
Roller shades have become one of the most popular window treatments in modern homes. Their clean lines, easy operation, and variety of colors make them suitable for nearly every space, from living rooms to kitchens and bedrooms.
Unlike bulky curtains or outdated mini blinds, roller shades offer a minimalist appearance while maintaining function. They can block sunlight, reduce glare, and provide privacy without overpowering your room’s décor. Homeowners also love that they’re easy to clean and come in different opacities, including light-filtering and blackout options.
If you’re upgrading your window treatments, learning how to install roller shades gives you flexibility and control over your project. It’s an affordable way to enhance both comfort and design without professional labor costs, though precision and patience are key.
Tools and Preparation Before Installing Roller Shades
Before starting, it’s important to gather your tools and check your measurements. Installing roller blinds correctly begins with preparation. The most common tools include a measuring tape, pencil, level, drill, and screws. Depending on the mount type, you may also need a screwdriver and side mount brackets.
Always measure the window width and height carefully before purchasing your shades. For inside mount roller blinds, the shades should fit snugly within the frame. For outside mounts, you’ll need a bit of extra width to ensure full coverage.
It’s also a good idea to check for any obstructions like window cranks, locks, or molding that could interfere with the brackets. Taking time to prepare will make the actual installation much smoother and more accurate.
Understanding Mount Types: Inside vs. Outside Mount
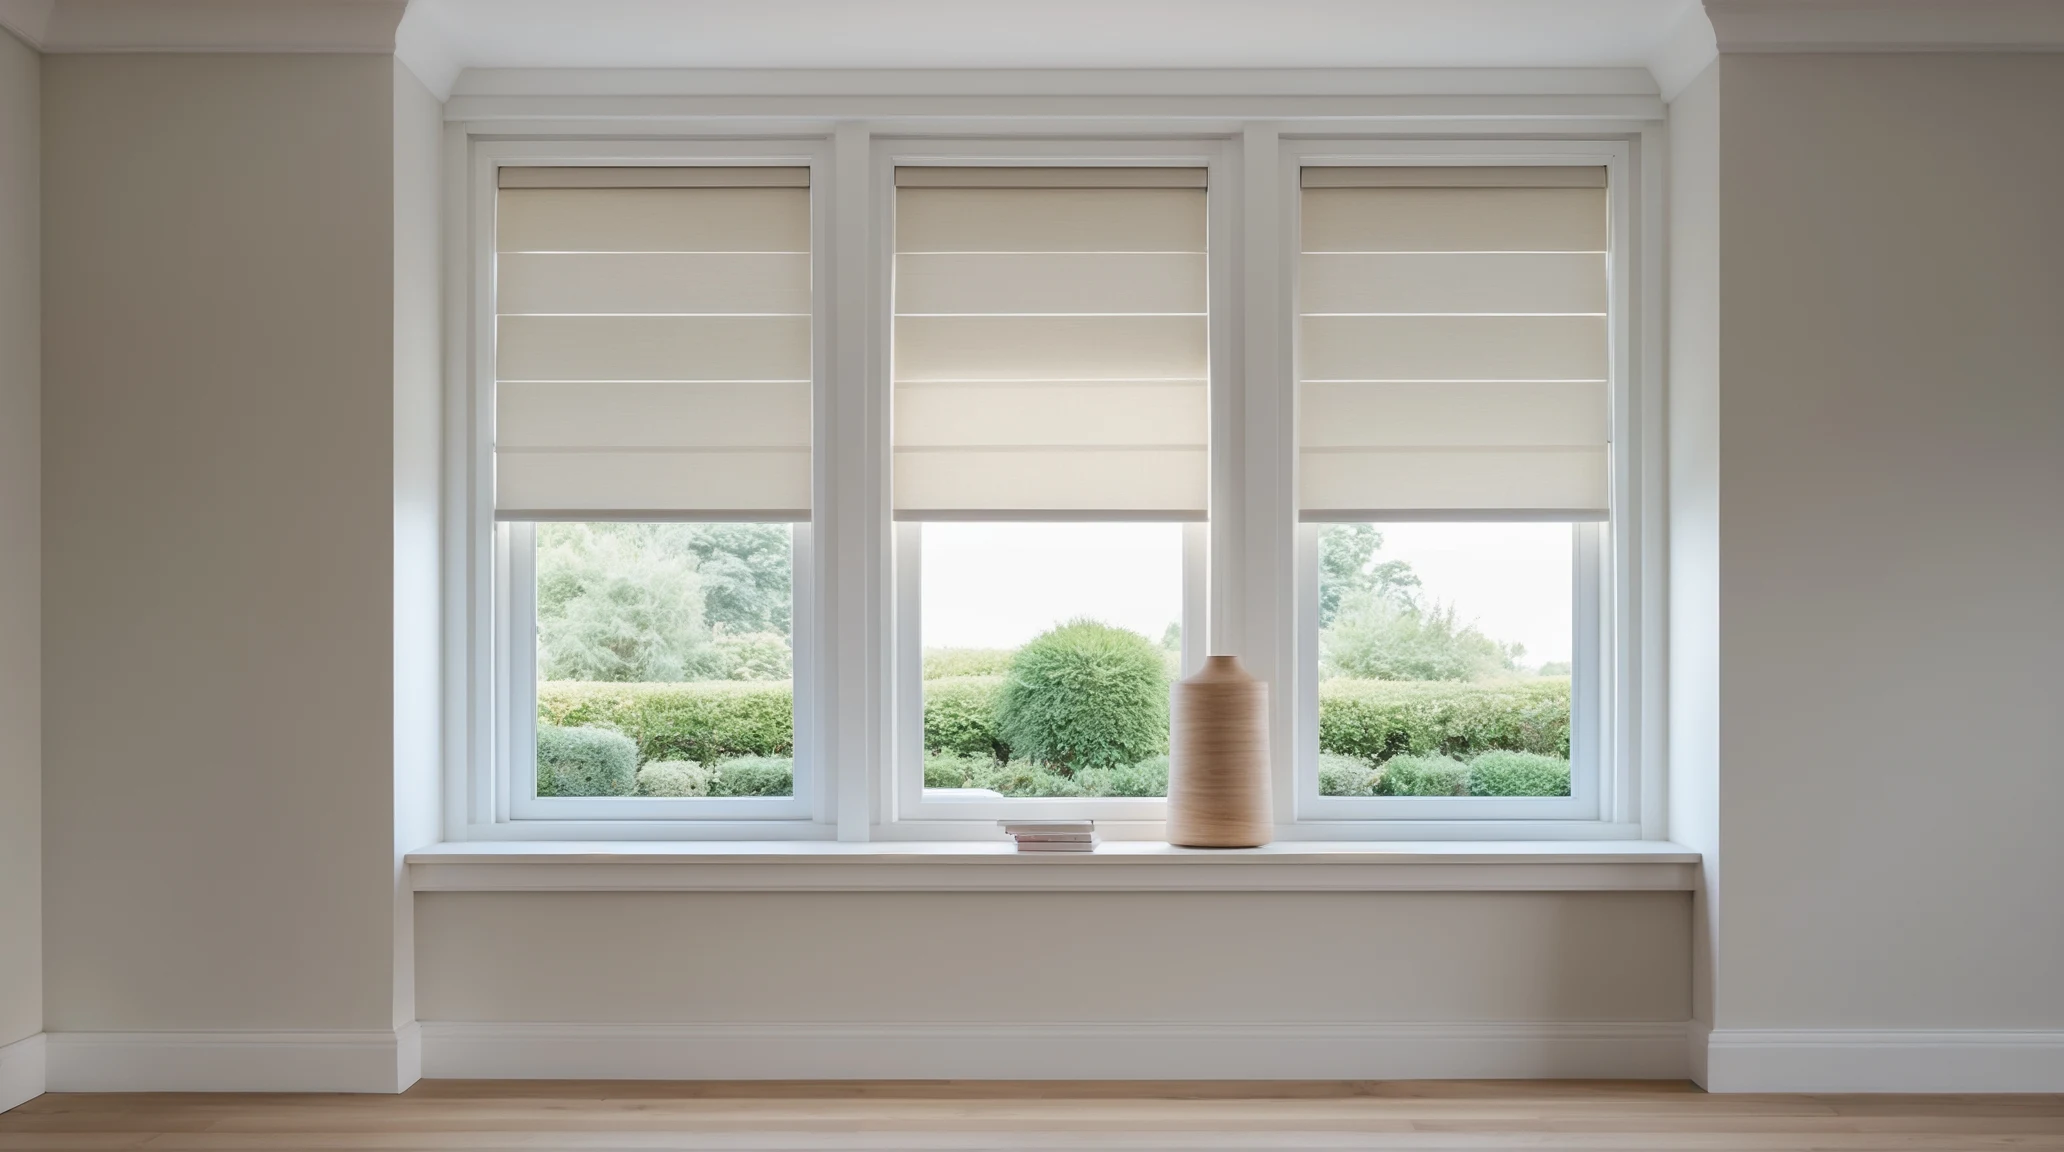
Before learning how to install a roller blind, it’s essential to decide whether you want an inside or outside mount.
Inside mount roller blinds fit inside the window frame, giving a sleek, built-in appearance. This option is great for minimalists and works best when your windows are deep enough to hold the brackets. Inside mounts offer a polished, custom look that highlights the window frame itself.
On the other hand, outside mount roller shades attach above or around the window frame. They’re ideal for shallow windows or when you want to block more light. Outside mounts can make windows appear larger and provide full coverage — especially helpful for blackout or room-darkening shades.
Both options are stylish, but they require slightly different steps when installing roller blinds. Let’s look at how each type is mounted properly.
How to Install Window Roller Shades (Step-by-Step Guide)
Now that you understand the basics, here’s how to install window roller shades correctly. Begin by holding your roller shade up to the window and marking where the brackets will go. Use a level to ensure your marks are perfectly straight — even a small tilt can cause the shade to roll unevenly.
Next, drill pilot holes into your marked spots to make screw installation easier. Attach the brackets securely using your drill or screwdriver. Once both brackets are in place, slide the shade’s roller into them. You’ll hear a click when it locks properly.
Finally, test your roller shade by pulling it down and letting it retract. If it moves smoothly and sits evenly, your installation is complete. If it feels stiff or crooked, double-check that both brackets are aligned evenly and tightened correctly.
This simple process works for most types of roller shade installation and ensures your blinds look neat and function properly.
How to Install Roller Blinds Inside Mount
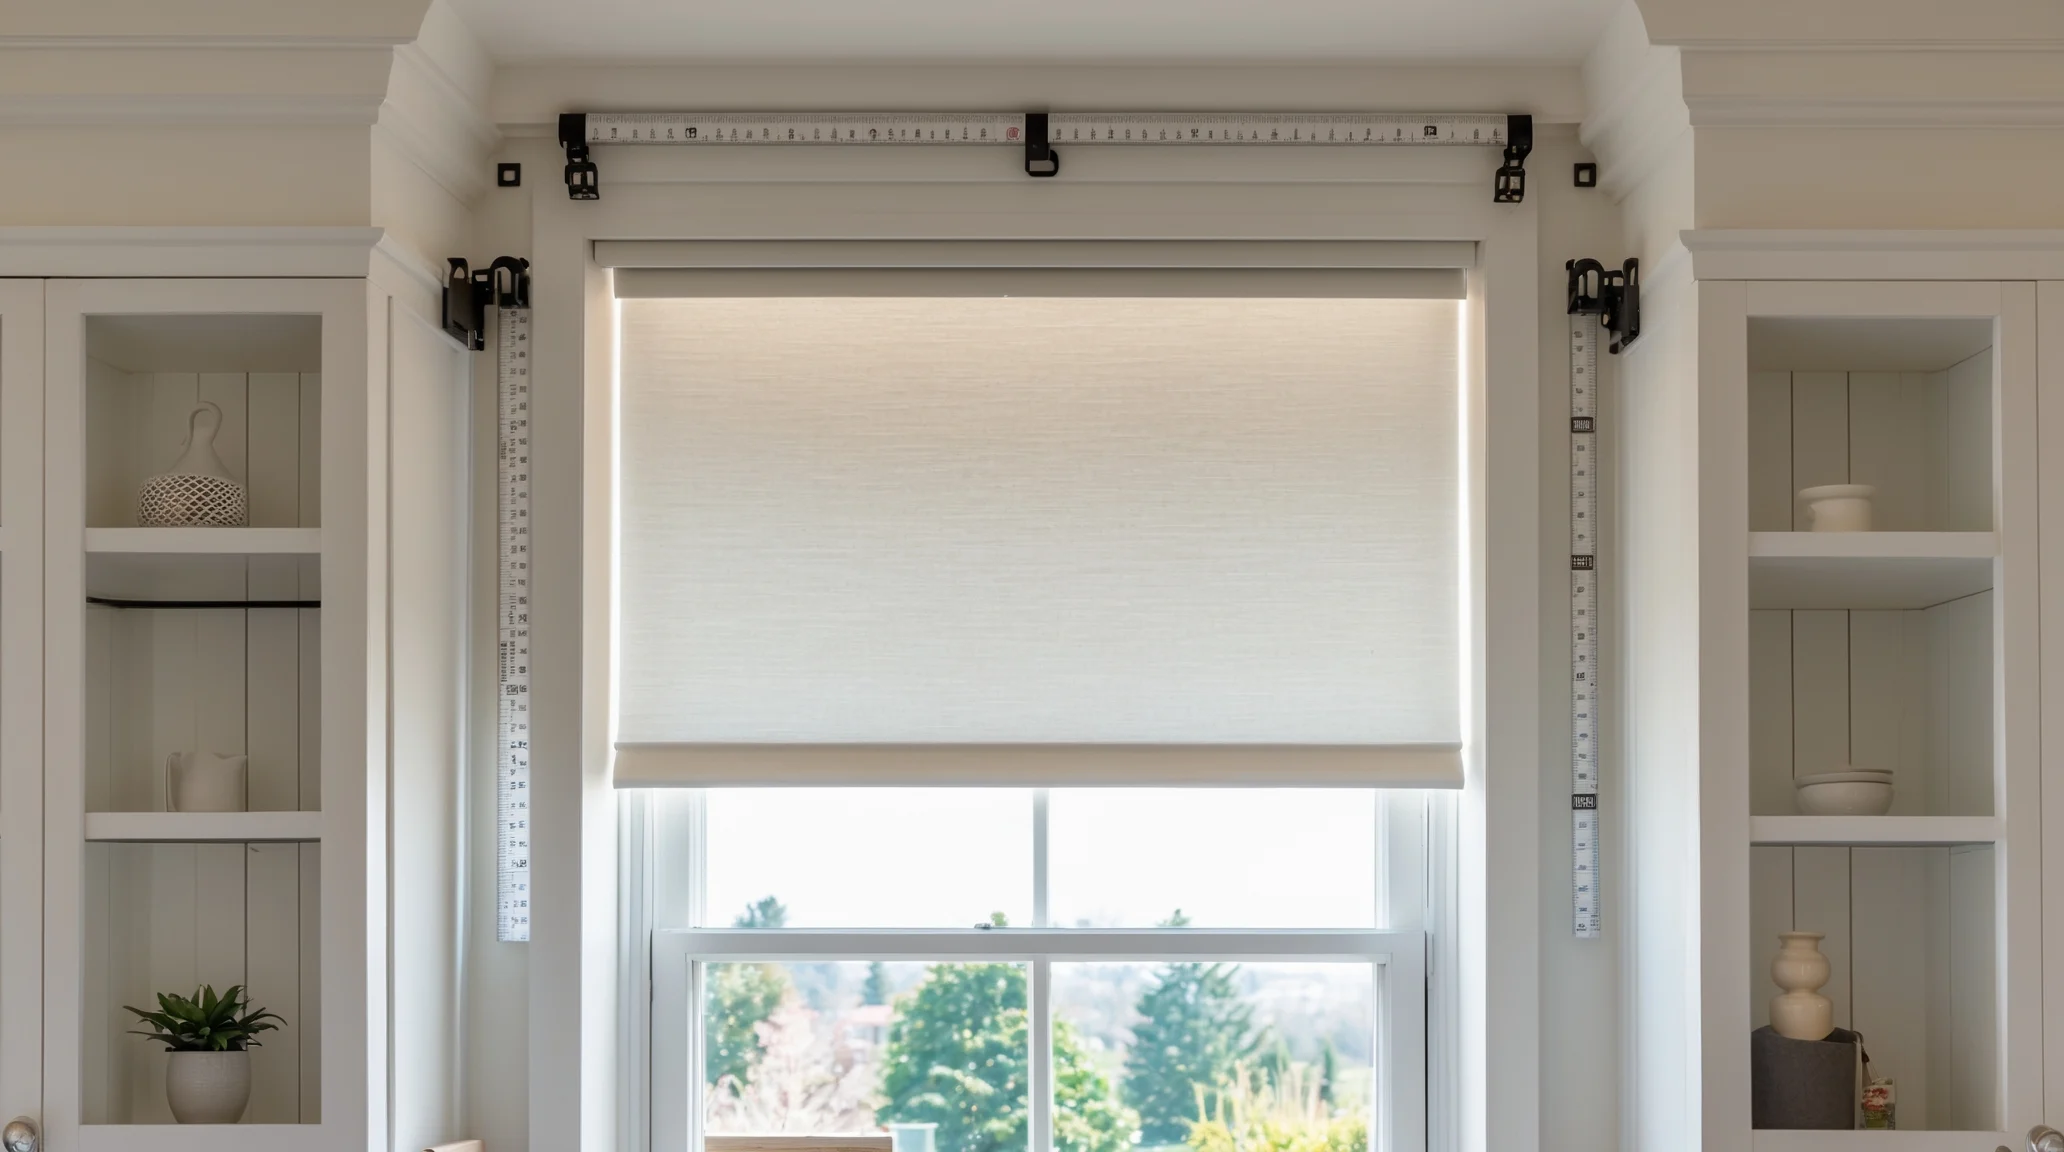
For homeowners who prefer a cleaner, more integrated look, installing roller blinds with an inside mount is the perfect choice. Start by measuring the inside width and height of your window frame. Use the smallest width measurement to ensure the shade fits neatly inside.
When marking the bracket positions, keep them level and about a quarter-inch from the top of the frame. Drill your holes, then screw the brackets into place. After that, snap the roller into the brackets, making sure the control side (chain or spring) is positioned correctly.
Inside mounts look best when installed precisely, so take your time checking the alignment. If you’re using inside mount brackets for roller shades, double-check that they’re facing the right direction before securing them. The result is a seamless, professional look that enhances your window’s structure.
How to Install Roller Blinds Outside Mount
Outside-mount roller shades are ideal when you want to block more light or when your window frame doesn’t have enough depth. The process is slightly different but still simple.
Start by measuring the window width and adding an extra two to three inches on each side for better coverage. Mark your bracket locations above the window frame, ensuring they are level and evenly spaced. Drill holes, attach the brackets, and click the roller shade into place.
With outside mounts, accuracy is everything. Double-check that the roller is centered before tightening the brackets completely. This ensures smooth rolling and a balanced look. Outside mounts can also hide uneven window frames, giving your space a uniform, designer finish.
How to Hang Roller Shades Securely and Evenly
Once your brackets are installed, the next step is how to hang roller blinds properly so they operate smoothly. Lift the roller and insert it into the brackets by positioning one end first, then snapping the other side into place. Make sure the roller is fully seated in both brackets before pulling the shade down for the first time. If it doesn’t roll evenly, check the bracket alignment or tension spring. Some shades may require a few test pulls before they roll smoothly.
To finish, attach any chain tensioners or cord guides that come with your shade. These help prevent tangling and add a safety measure if you have children or pets at home.
Proper roller blind installation ensures durability and smooth performance over time. When installed correctly, your shades should operate silently and retract evenly with minimal effort.
DIY Roller Window Shades: When You Can Do It Yourself
Many homeowners take pride in installing their own DIY roller window shades, and it’s definitely possible if you’re careful and patient. The process is straightforward for most standard windows, especially if you follow instructions and double-check measurements. However, if your windows are unusually large, uneven, or high up, professional installation is a better choice. Experts have the right tools and experience to handle complex fits and ensure perfect results.
Installing roller shades yourself can save money, but mistakes in measurement or mounting can lead to gaps, crooked shades, or damage to your window frame. If you’re unsure, it’s often worth calling a pro for peace of mind.
Blackout and Motorized Shades: Special Installation Tips
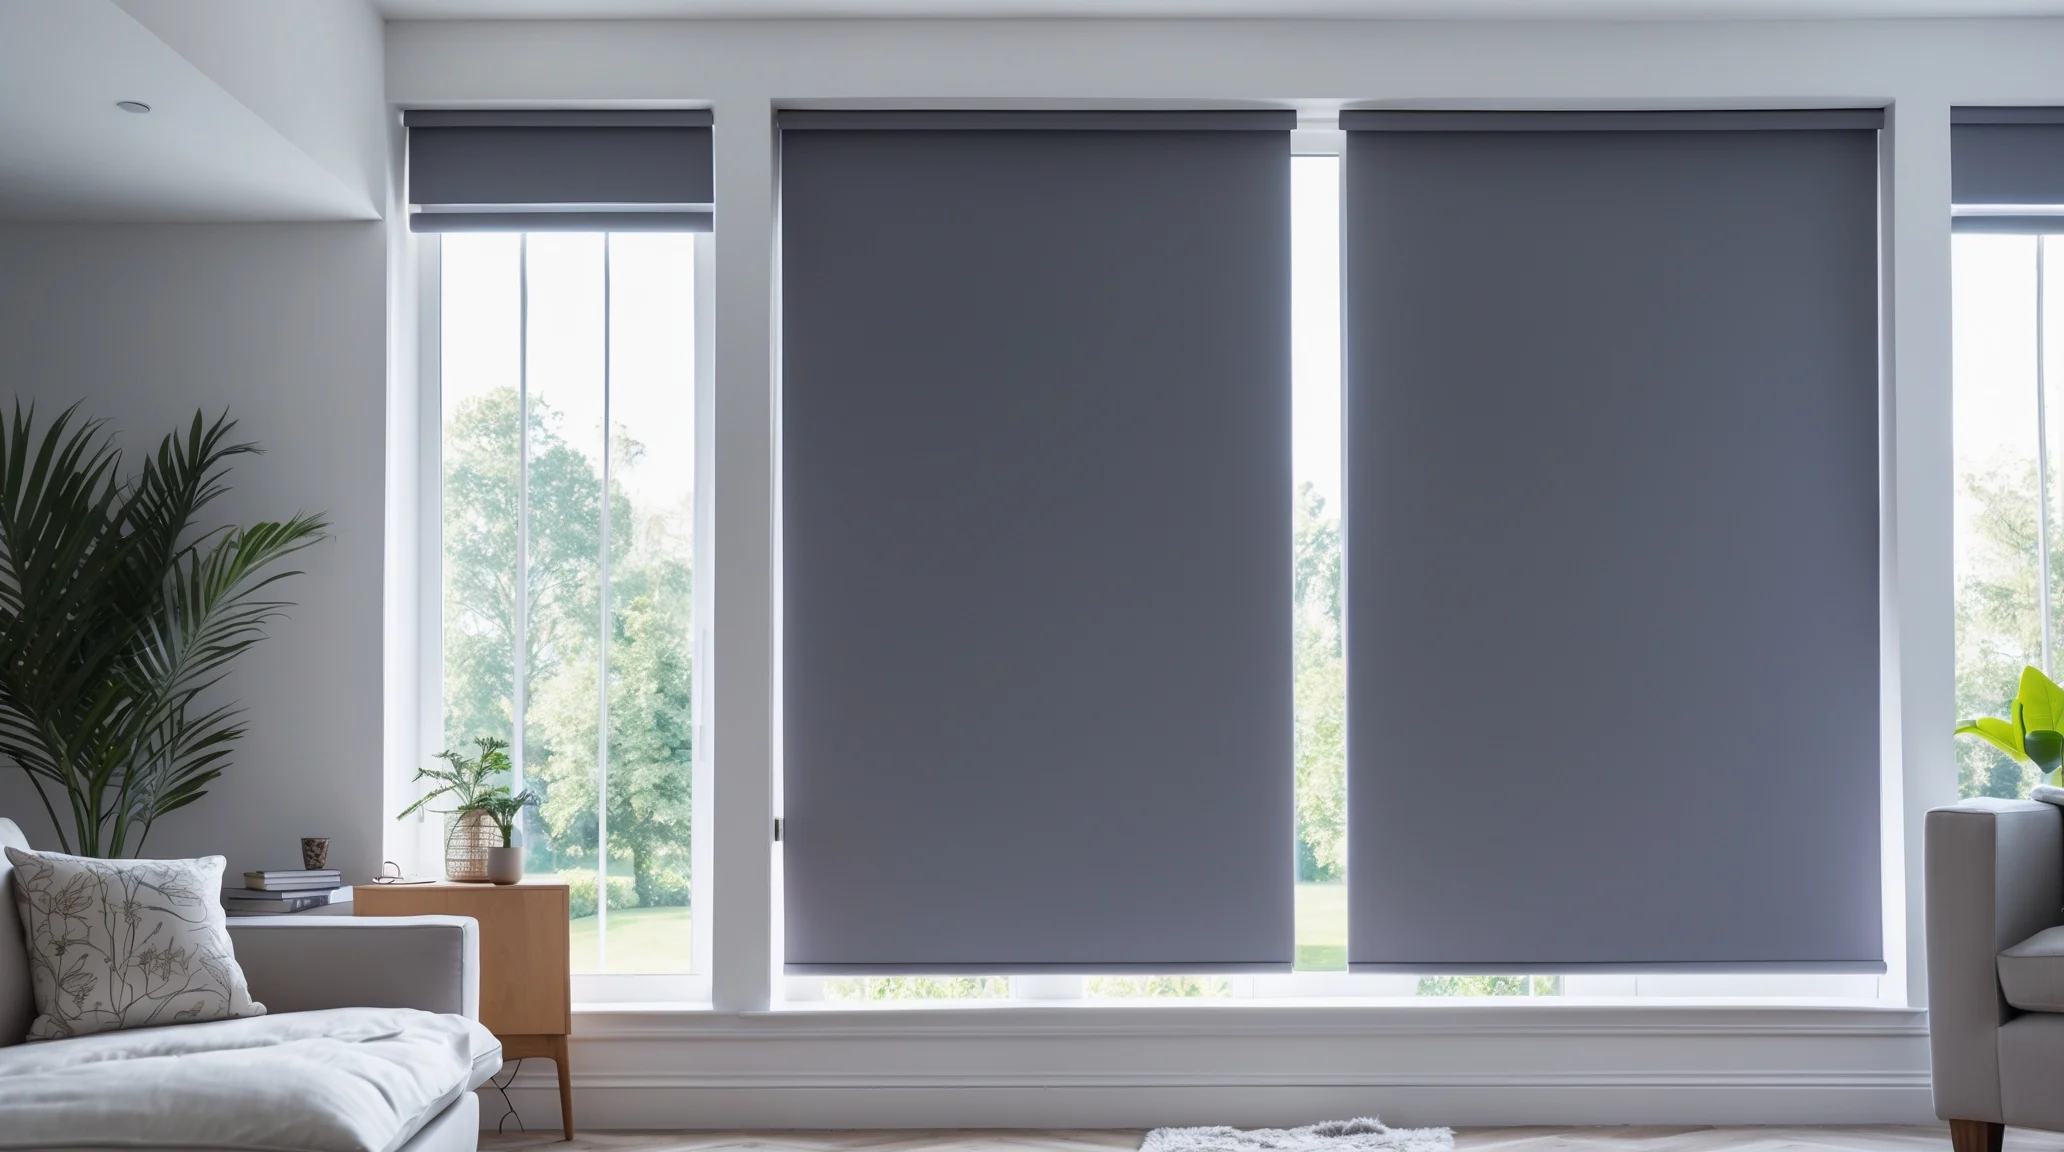
Blackout roller blinds installation requires special attention to prevent light gaps. For best results, many homeowners choose an outside mount to cover the entire frame. Use side channels or light-blocking seals if your goal is total darkness, such as in bedrooms or media rooms. If you’re installing motorized shades, the process includes connecting the power source or batteries and syncing the remote or smart home system. These shades are convenient and energy-efficient, but wiring or automation setup can be tricky without experience.
Motorized shades also need precise calibration to ensure the motor stops correctly at the top and bottom positions. For these systems, it’s usually better to rely on professional motorized shade installation for accuracy and safety.
Common Roller Shade Installation Mistakes to Avoid
Even though roller shades are simple to install, small mistakes can affect their performance. The most common issue is uneven brackets. If the brackets aren’t level, the shade will roll to one side or jam. Always use a level before drilling. Incorrect measurements are another frequent problem. Taking exact window measurements is essential, especially for inside mounts. A half-inch off can cause the shades not to fit properly.
Other mistakes include installing the control chain on the wrong side, skipping safety devices, or tightening screws too much, which can crack plastic brackets. Taking your time ensures better results and avoids frustration later.
Professional Roller Shade Installation in Riverside, CA by Accent Window Coverings
For homeowners in Riverside, CA, professional installation from Accent Window Coverings guarantees a flawless finish. Their experienced team handles everything from measurement to mounting, ensuring your roller shades fit perfectly and work smoothly. Accent Window Coverings offers a wide range of shades, from simple rollers to motorized blackout systems. Their technicians use high-quality materials, precision tools, and expert techniques to ensure your shades look beautiful and perform perfectly for years.
Whether you’re upgrading a single window or furnishing an entire home, professional installation ensures lasting comfort, style, and peace of mind.
Ready to refresh your windows with new roller shades? Contact Accent Window Coverings today for a free in-home consultation. Get expert advice, custom fitting, and reliable installation for the perfect finish every time.
